

Millions of people worldwide suffer pain and limited mobility as a result of damage to articular cartilage, most commonly in the knee and ankle. Unfortunately, unlike muscle or bone, damaged cartilage has a limited capacity for self-repair.
Orthocell’s Autologous Chondrocyte Implantation (OrthoACI™) offers treatment for symptomatic defects of the articulating cartilage of the joints. OrthoACI uses the patient’s own healthy cartilage cells called chondrocytes to assist the regeneration of damaged cartilage. OrthoACI is a highly customized treatment – each procedure is tailored to the individual patients’ requirements.
How It Works
OrthoACI™ is a two-stage procedure. A biopsy of healthy articular cartilage using keyhole surgery is taken and sent to Orthocell’s quality-controlled laboratory where the chondrocytes are isolated and grown under controlled conditions for approximately 5 weeks. The cells are loaded on a custom-designed cell delivery scaffold which is implanted into the damaged joint by the orthopaedic surgeon through a small incision or keyhole surgery. The scaffold creates the optimal environment for the implant chondrocytes to begin regenerating new cartilage.
A rehabilitation program to slowly increase in weight bearing over a six-week period is essential to ensure the success of OrthoACI. Return to sport and recreational activities should also be staged over the first six to nine months following OrthoACI. This staged increase in intensity of activities protects the newly developing cartilage and allows cartilage maturation process to occur undisturbed.
Step-by-step guide
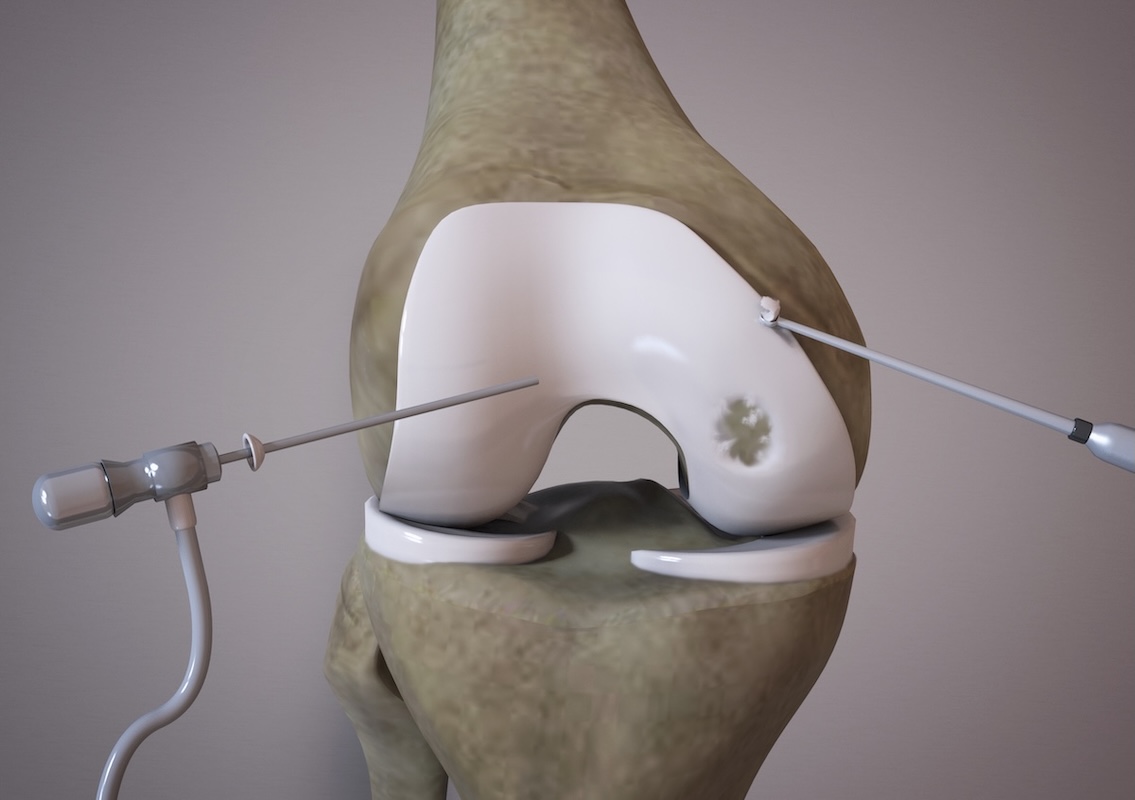
Step 1
Take a biopsy of healthy articular cartilage from a non-weight bearing region.
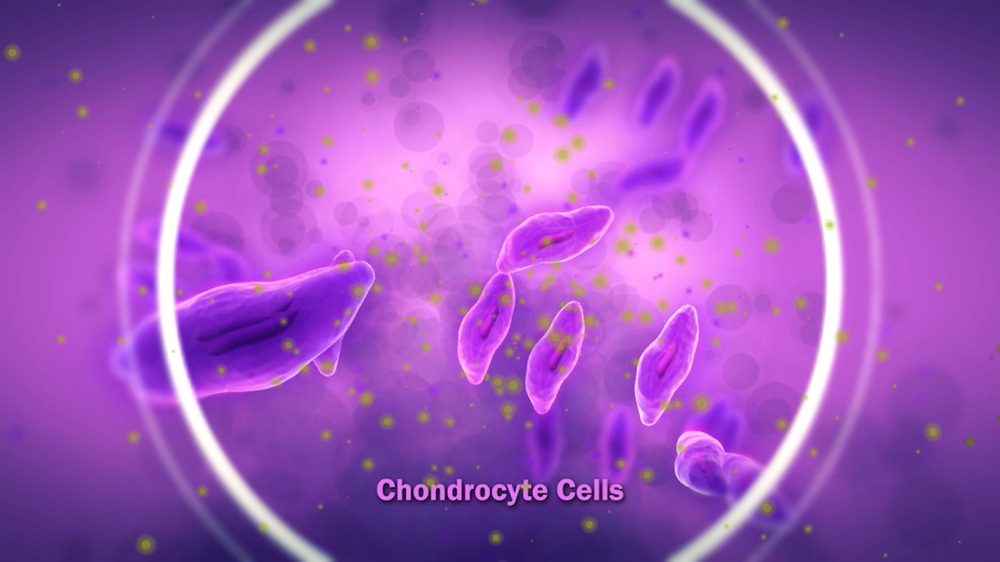
Step 2
Send the biopsy to Orthocell’s quality-controlled facility for cell isolation and cultivation of the chondrocyte cells.
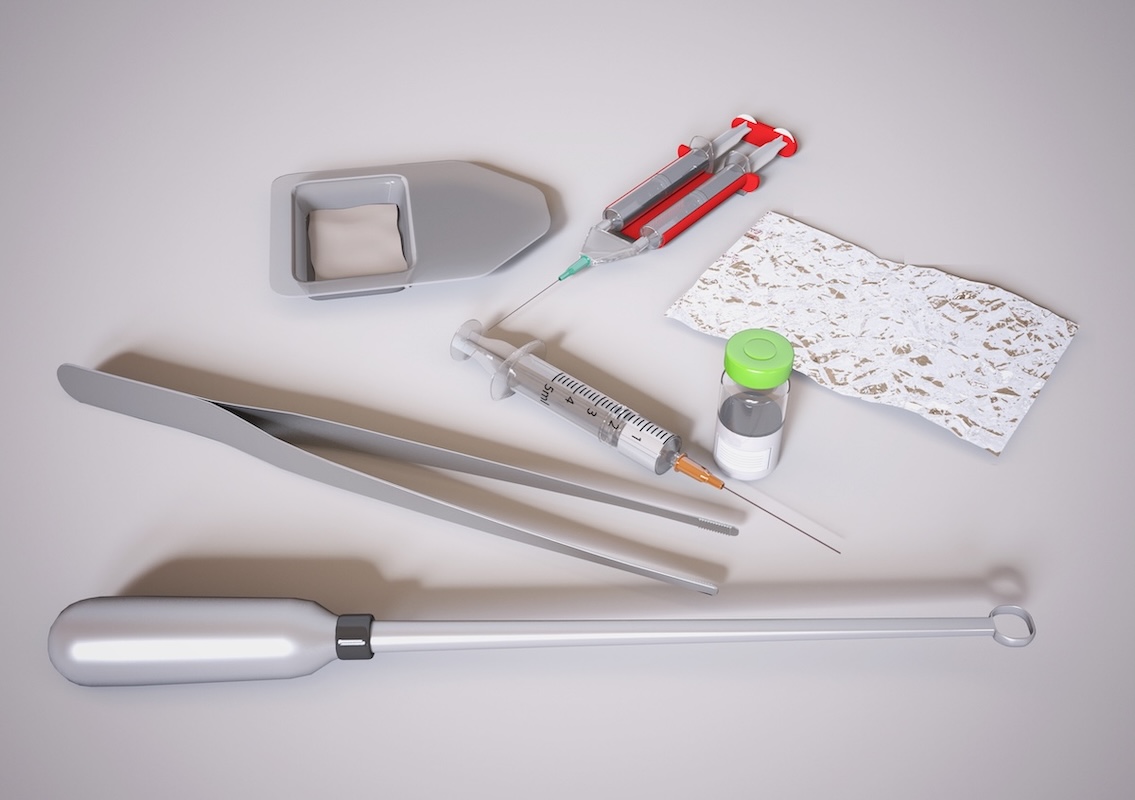
Step 3
Securely transfer the cells back to the treating physician.
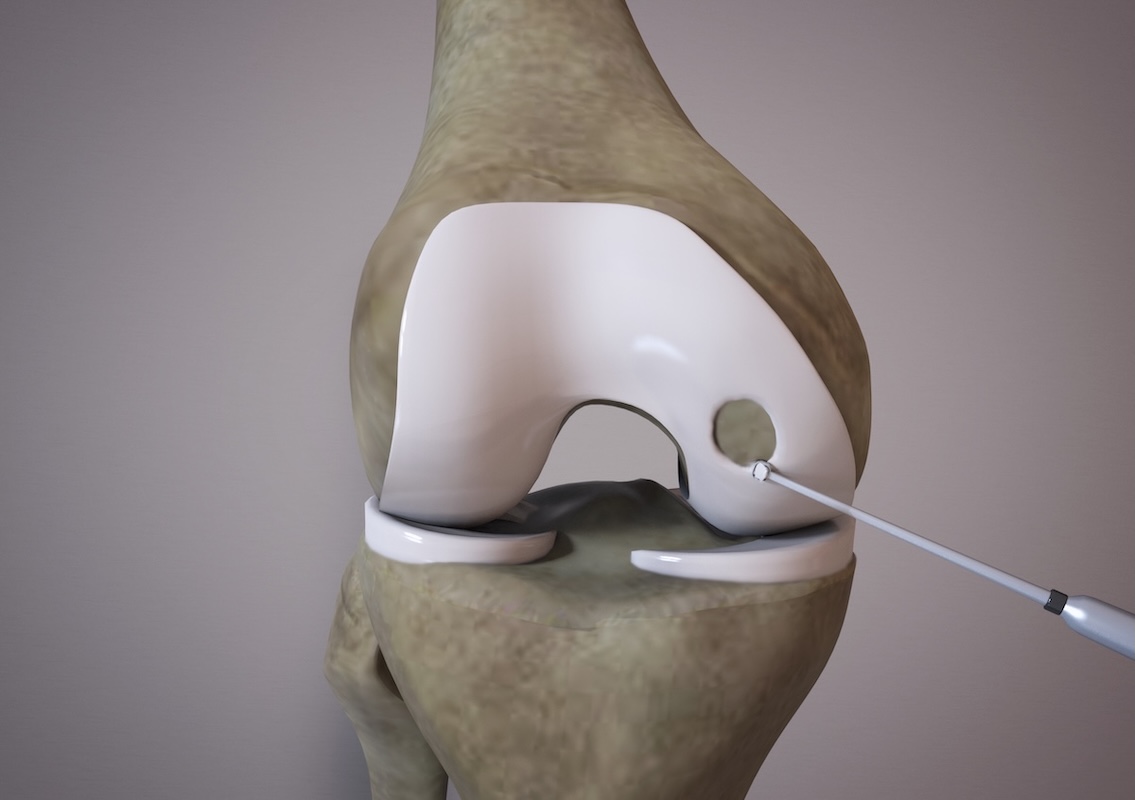
Step 4
Prepare the site by confirming that the area has healthy cartilage margins to facilitate integration and regeneration after implantation.
Step 5
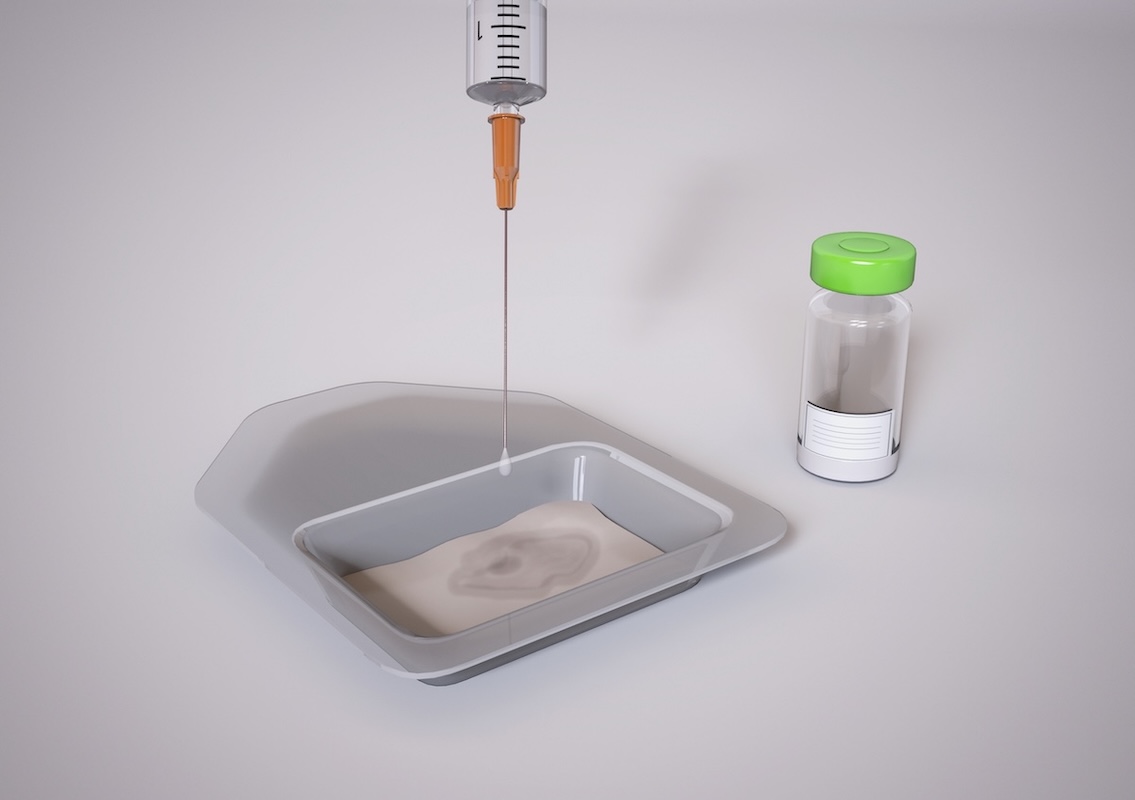
Gently dispense the cells onto the rough side of the collagen scaffold, ensuring the area is evenly covered.
Step 6
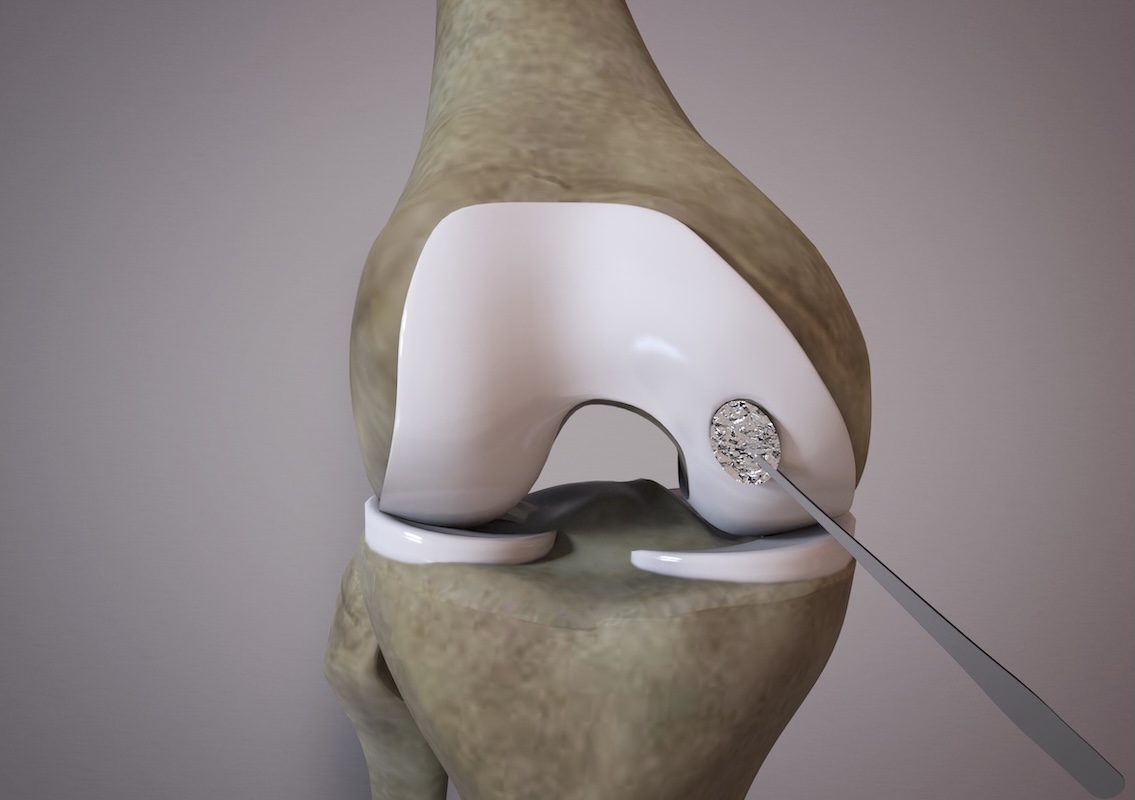
Use a sterile foil template to make an impression of the defect.
Step 7
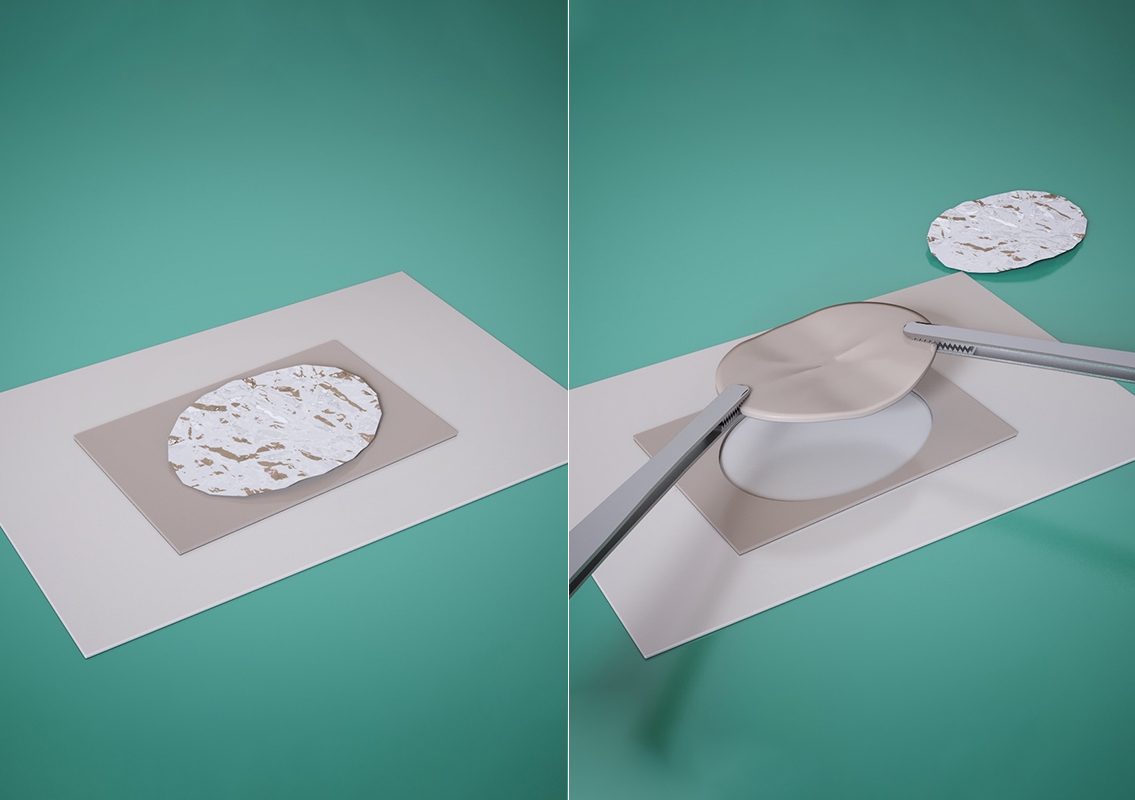
Place the foil template on the cell-loaded scaffold and cut to size with scissors.
Step 8
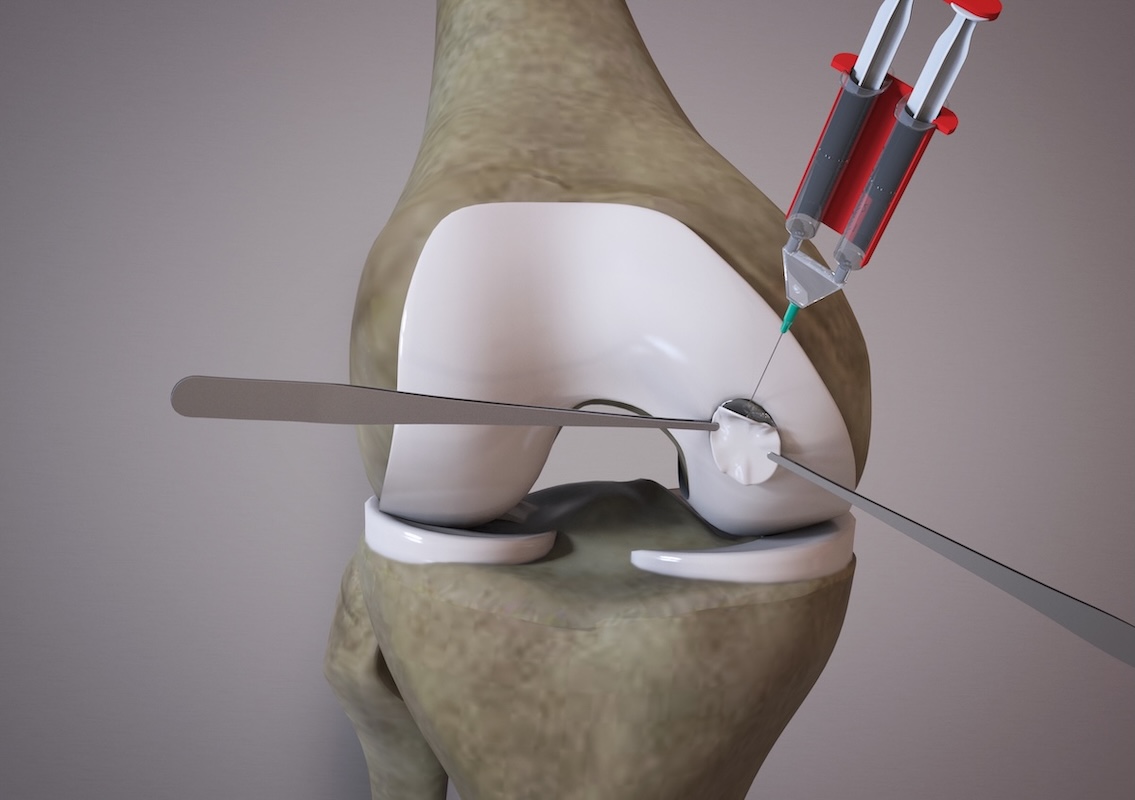
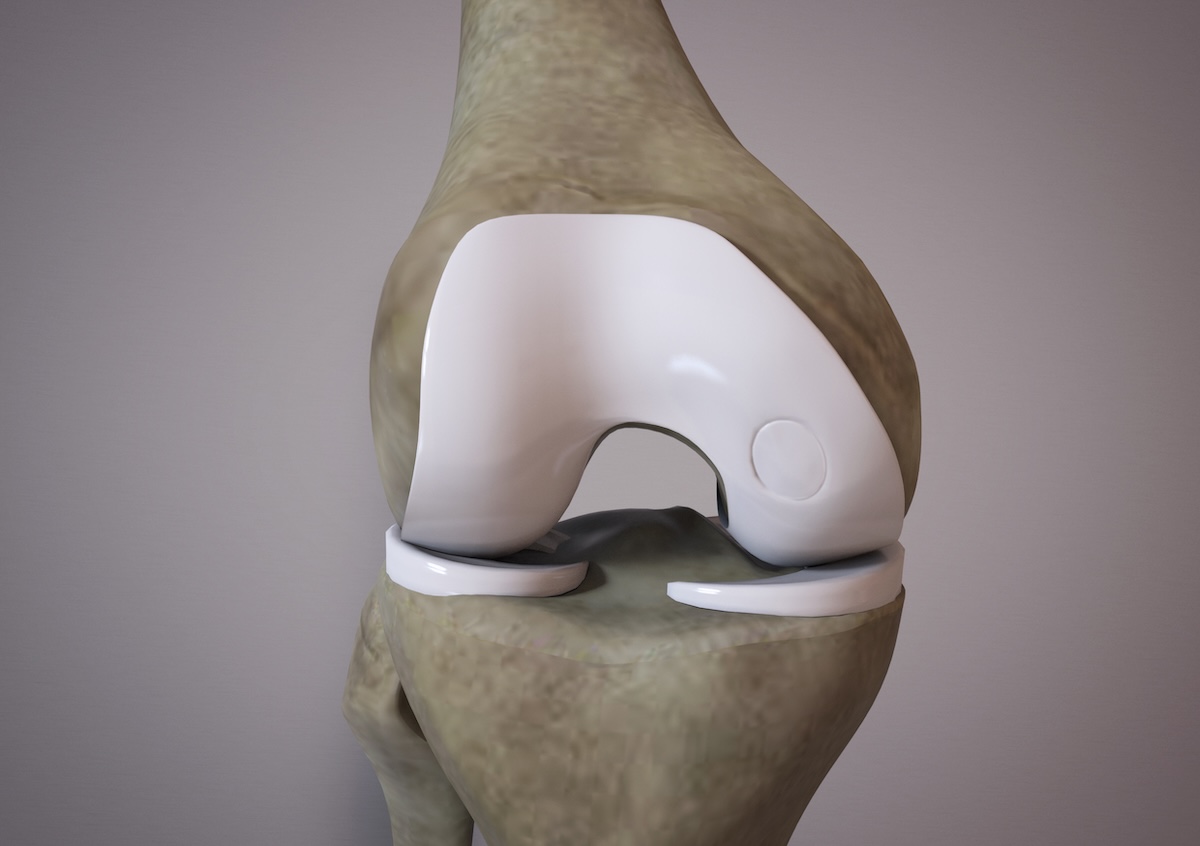
Position the scaffold rough side facing the subchondral plate and apply sealant.
Step 9
Once the collagen scaffold is in place, put the joint through a range of motion to ensure the graft is securely positioned.
Webinars
Latest developments in the biological treatment of Cartilage